What’s better than a well-functioning WordPress site, you might be wondering?
A well-functioning WordPress site with a functional staging environment to push changes from!
I used to think that cloud-hosted staging environments were something that only developers with access to AWS tools and EC2 instances could take advantage of.
Wrong!
In the following tutorial I’m going to demonstrate how to quickly and easily set up a WordPress staging environment using only a run-of-the-mill shared hosting plan and Cloudflare for security.
Prerequisites:
- You have a Cloudflare account.
- You have added your domain to Cloudflare.
Step One: Point Nameservers to Cloudflare
This one goes without saying.
To use Cloudflare (a Content Delivery Network that does so much more than that) you need to set up an account and point over your nameservers.
Cloudflare assigns different nameservers to different users. You will find them in Cloudflare itself and by email. They’ll be in the format x.cloudflare.com and you’ll need two credentials.
This is a DNS change, so it could take as long as 48 hours to propagate.

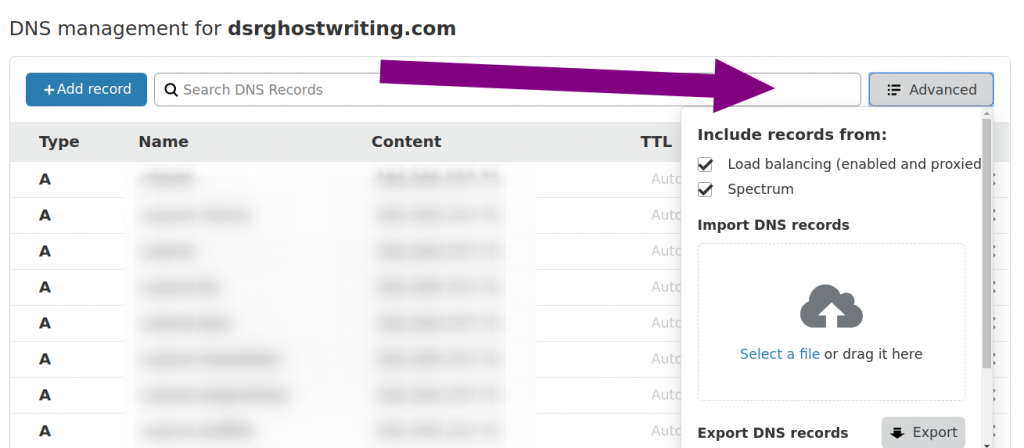
Step Two: Set Up DNS Records on Cloudflare
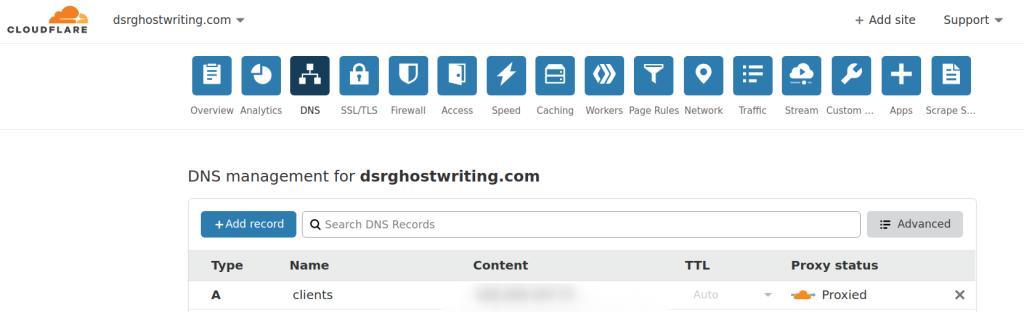
Next, you’ll want to copy over your zone files.
If you can export a BIND-formatted list of DNS records from your host, then click the ‘Advanced’ button in order to pull down a drag and drop import tool.
Step Three: Create Subdomain
Your staging environment should be a subdomain of your site — not a directory.
Create this in Cpanel and give the subdomain a document root that makes it obvious that it’s a staging environment.
I went for staging.mydomain.com.

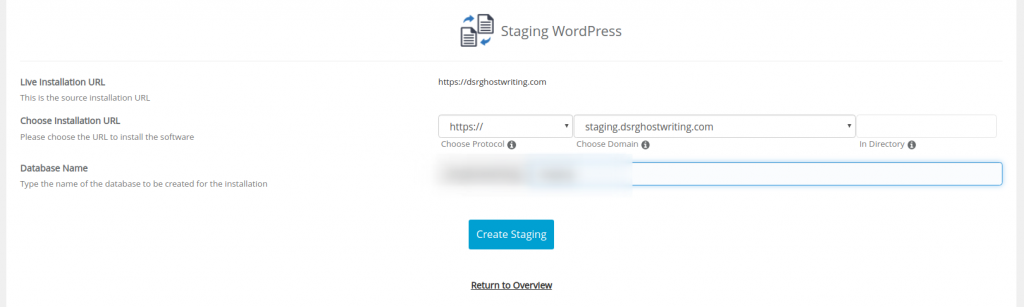
Step Four: Create Staging Environment in Softaculous
Next, you’ll need to install WordPress on your staging environment with Softaculous and mark it as that.
To do this click on the icon that looks like two pieces of paper being exchanged (the first one to the left) next to the site you want to create a staging environment for:

You’ll want to choose the subdomain you just created as the installation URL:
Softaculous will duplicate your current site on to your new staging environment and show you a confirmation messages.
Step Five: Build Our Your Next Version(s) in Your Staging Environment
From here on in, you should work on your site in the staging environment.
(Pedantic note: calling it a staging environment is something of a misnomer, because in professional development setups the staging server is actually the environment after the development server where raw development is QA’d before being pushed to production. But let’s stick with Softaculous’s terminology.)
The beauty of the staging environment is that Softaculous will copy your WordPress instance exactly between the two instances (or servers) while automatically rewriting every staging.yoursite resource to yoursite.
That means the WordPress directory and its MySQL database with all its tables.
Which means that:
- All plugin and theme additions, changes, and deletions and
- All content additions, changes, and deletions
Will be replicated whenever you push to live.
Additionally all updates — to the WordPress core, to themes, and to plugins — will update.
So your involvement with your production site can cease with clicking the ‘Push to Live’ button .
This means, of course, that you should never directly edit your production site or your work will be overwritten the next time you push to live. (But if you do, you can just overwrite staging with them!)
Now you can take your sweet time about fine-tweak-ing and QA-ing your site until it is pixel and functionality perfect. No more rushed sloppy work!
When you’re done and ready to push out your latest batch of changes, simply click on the path icon:

And then click ‘Push to Live’

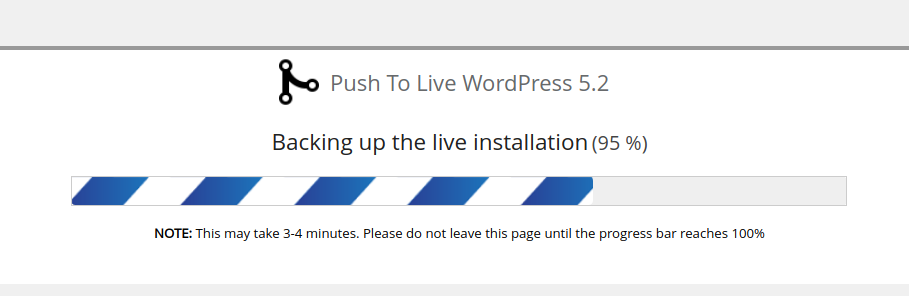
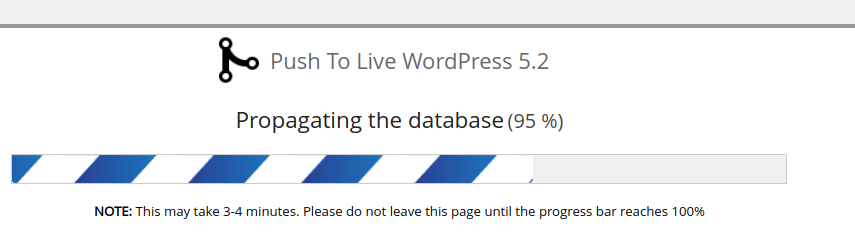
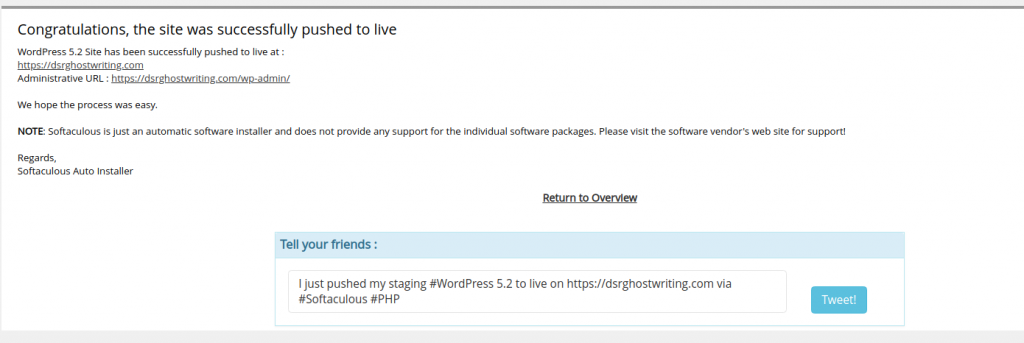
Softaculous will first take a backup of your production environment to help you restore it if sometimes goes amiss. Then it will propagate the files and MySQL changes.
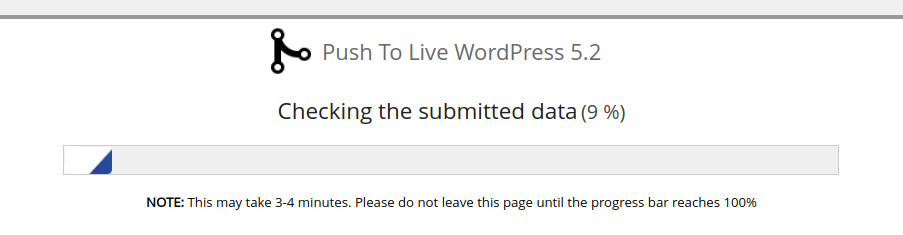
Push to Live Process
Keep the tab open and make sure that the push to live process runs through all its steps. This can take about four minutes, depending on the size of the site being pushed.
The stages you should see Softaculous go through are:
Step 1: Validation
Step 2: Backup:
(I explain later why you might want to set up a cron job to automatically clear these from your server)
Step 3: Deployment / Propagation
Step 4: Confirmation
Step Six: Using Cloudflare to Password Protect The Staging Environment
Ideally, cloud-hosted staging environments should not be exposed to the public or indexed by search engines.
It’s where you’ll be doing your raw work and making things break, after all.

The problem with using the Directory Privacy tool built into cPanel and Softaculous’s staging methodology is that it works by automatically regenerating the domain’s .htaccess file …. which of course gets carried over to production when you Push to Live — meaning that your public-facing WordPress installation will be password protected.
Likewise for a robots.txt file. If you disable spiders on staging … you’ll risk production vanishing from Google too.
Caging the subdomain at with Cloudflare is a more elegant solution to secure and hide your staging environment from the public and prevent it from indexing on Google.
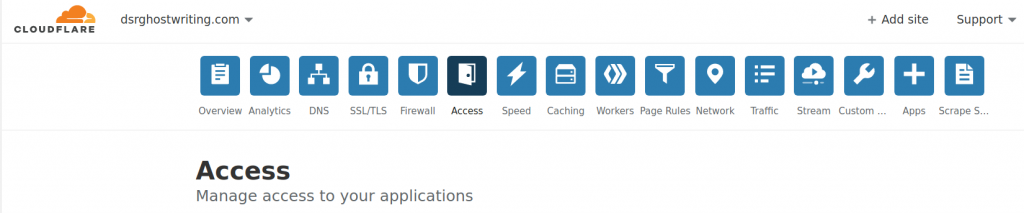
To do this, set up Cloudflare Access:
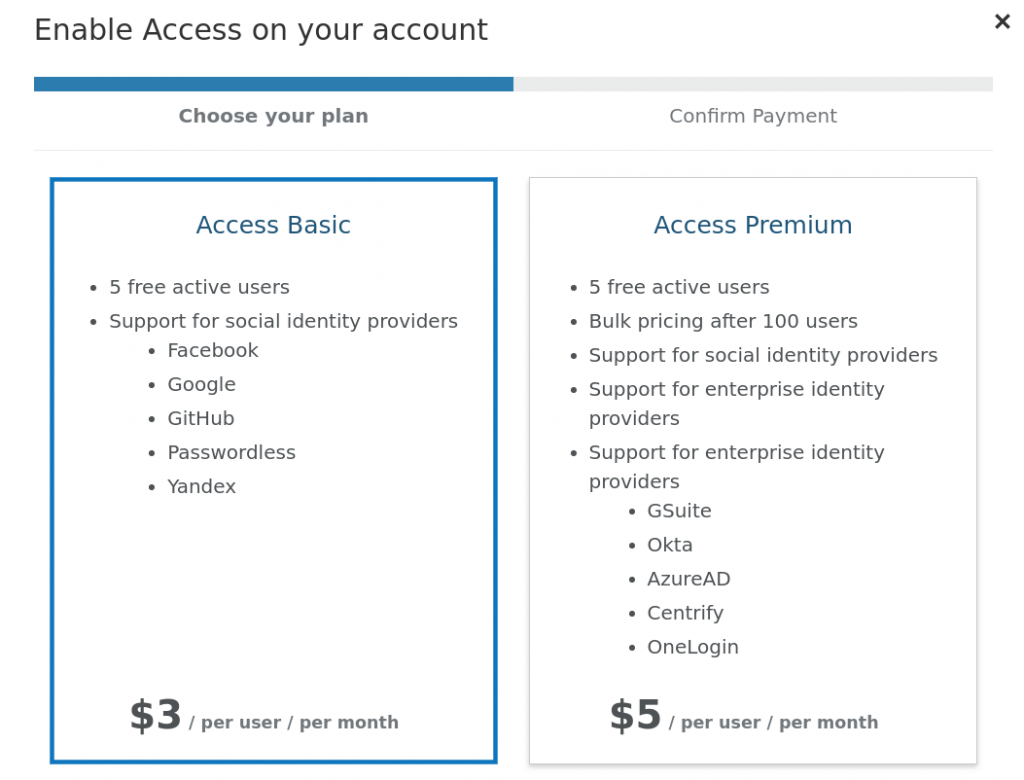
(At the time of writing) Access is free for up to five users per month.
But even if they change their pricing mode, the basic protection tier is only $3/user/month. If you’re doing a lot of development work on your website, it’s well worth it, in my opinion.
The easiest authentication method to set up is One-Time Pin (OTP). This means that every time you want to log in you’ll have to enter a pin which gets sent to your email.
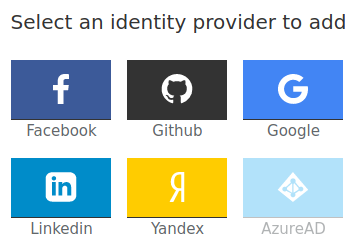
But you can also configure Single Sign On (SSO) through Facebook, Google, Github, and other providers.
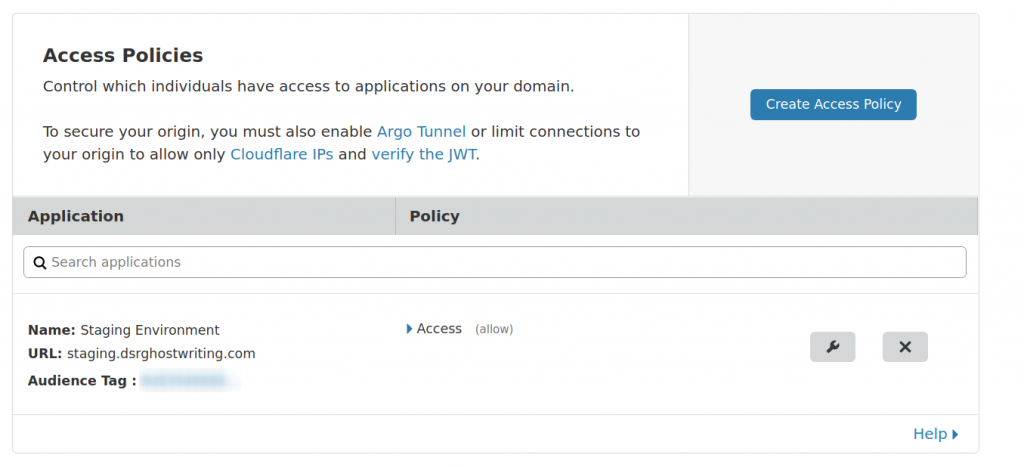
Next, you’ll want to create an access policy for your staging environment.
If you’re using the staging environment a lot, then it makes sense to extend the default session duration from 24 hours to something like the maximum … which is a month.
The policy I set up is the most simple one for authenticating by email OTP.
Set that up like this:
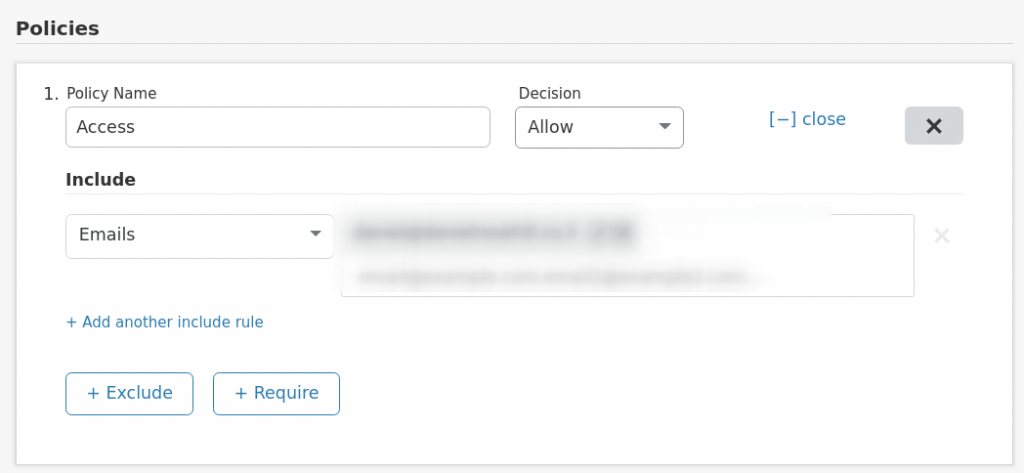
You can input a range of emails which you wish to be able to authenticate by OTP.
Save the policy to deploy it.
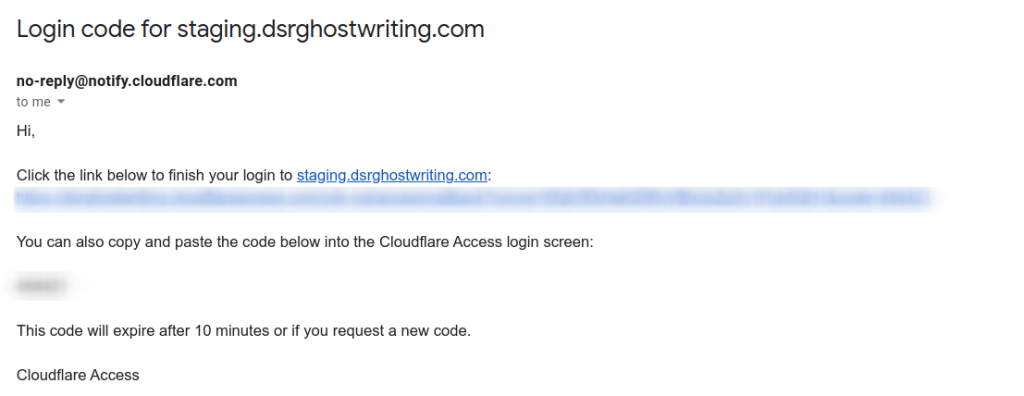
Step Seven: Log in to Staging!
Now, whenever you (or anybody) visits your staging environment, they’ll be presented with the following page:

In order to securely log in, simply enter your email address into the box.
You’ll get an instantaneous OTP form Cloudflare:

Click the one time link or enter the code to gain access:
Step Eight (Optional): Add a cron job to clear old Softaculous backups
If you’re doing a few pushes to live every day, the automatic backups which Softaculous generates can easily accumulate a few dozen gigabytes-worth of storage:

If you’re on a storage-confined server, then you might want to automatically clear these daily.
If you have a separate backup solution in place as I do (which should mop up the entire server) then there’s really no need to take these backups too. (You can disable the functionality entirely, but you’d need root access to your server to do so. If you have a VPS / dedicated server that’s fully backed up then why not?)
In most shared hosting installations, the autogenerated Softaculous backups are stored in:
root/domain/softaculous_backups
I set up a once daily job to clear these out:

The cron line:
0 0 * * * rm -f /home/X/softaculous_backups/*
Where x=your domain document root (assuming you’re on a shared host that offers Softaculous).
That’s all there is to it. It’s a few simple steps but it’s made a world of difference for me so far in being able to carefully plan and deploy new versions of my website.
Congratulations — you’re now the proud owner of a password-protected WordPress staging environment in the cloud!